The desired result is one of many variables affecting the rapid prototyping process. Based on your objectives and financial constraints, RP experts can assist you in selecting the best strategy. What to anticipate during the procedure and tips for getting the most out of your investment are provided below. Rapid prototyping procedures assist product developers in keeping track of each feature and design modification. Regardless of how difficult design prototype services attempt to produce the best results possible. Without comprehending the procedure of rapid prototyping services, however, you can overlook essential elements.
Conceptualization and Design
The first step in the rapid prototyping process is conceptualization and design. This phase involves transforming an idea or concept into a digital 3D model using computer-aided design (CAD) software. CAD software allows designers to create detailed and precise representations including all the necessary dimensions and specifications.
Selection of Materials
Once the digital design is ready, the next step is selecting the appropriate material for the prototype. The choice of material depends on several factors, including the intended purpose of the prototype, its expected performance, and the desired properties such as strength, flexibility, or transparency. Common materials used in rapid prototyping include plastics, metals, ceramics, and even bio-compatible materials for medical applications.
Data Preparation
After selecting the material, the digital design is converted into a format the 3D printer can understand. It involves slicing the 3D model into thin horizontal layers known as “slicing.” The sliced data is sent to the 3D printer, which interprets the instructions and builds the prototype layer by layer.
3d printer
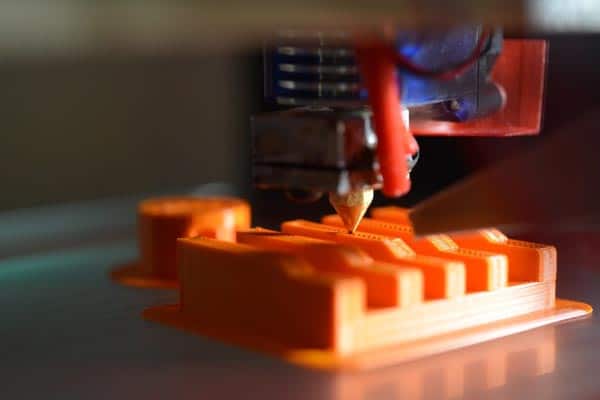
3D Printing
The heart of rapid prototyping is the 3D printing process itself. The 3D printer uses various techniques, such as Fused Deposition Modeling (FDM), Stereolithography (SLA), or Selective Laser Sintering (SLS), to create the physical prototype. These techniques involve depositing or curing the chosen material layer by layer, with extreme precision, until the entire prototype is formed. This step is where the magic happens, as the digital design transforms into a tangible object.
Post-Processing
Once the 3D is complete, the prototype may require post-processing to improve its appearance and functionality. Post-processing steps may include sanding, painting, assembly of multiple printed parts, or additional treatments like heat treatment or surface coating. The rapid prototyping services goal is to ensure the prototype meets the desired specifications and aesthetics.
Testing and Evaluation
With the prototype in hand, it’s time for testing and evaluation. This step is crucial for identifying design flaws or issues with product functionality. Rapid prototyping allows for quick iterations, meaning that modifications can be made to the digital design and a new prototype can be printed within a short time frame. This iterative process continues until the prototype meets all the necessary criteria, performance, and appearance.
Feedback and Iteration
Feedback from testing and evaluation is invaluable for refining the design. Stakeholders, including designers, engineers, and end-users, provide insights into what works and what doesn’t. These insights incorporated into the digital design the rapid prototyping process repeated as needed to create an improved version prototype. This iterative approach accelerates innovation and ensures that the final product is well-optimized.
Reference
*Image from https://unsplash.com/